

Installation Guide: Step-by-Step Process for Upgrading to a CarPlay Stereo
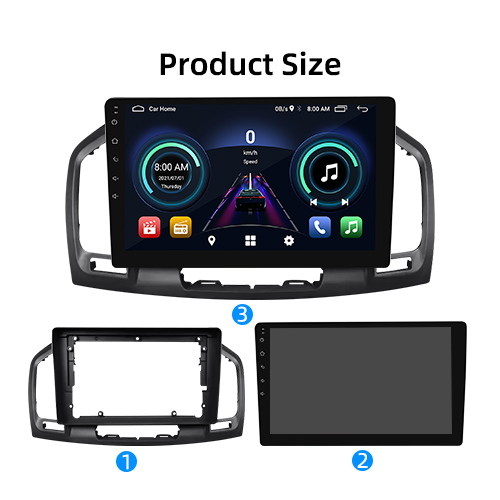
Upgrading your Buick Regal (2009-2013) to include a CarPlay GPS navigation stereo can significantly enhance your driving experience. Below is a detailed guide designed to help you through the installation process. Before starting, assemble the necessary tools which typically include a flathead screwdriver, a Phillips screwdriver, wire strippers, electrical tape, and socket wrenches. Additionally, ensure you have the CarPlay stereo unit and an appropriate wiring harness compatible with your vehicle’s model.
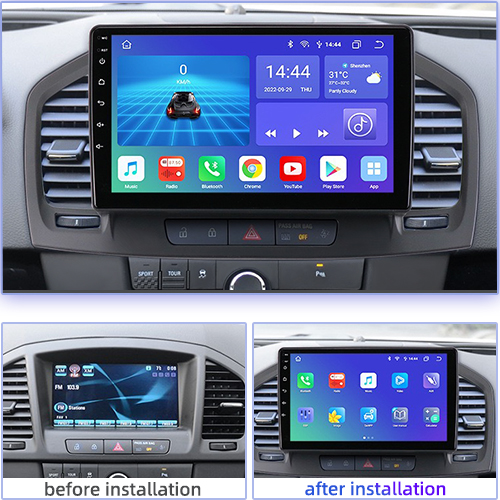
First, prioritize safety by disconnecting the car battery. This prevents any electrical mishaps during the installation. Next, remove the existing radio by gently prying off the trim panel that surrounds it. Use the flathead screwdriver to facilitate the removal without damaging the panel. Once the trim is off, locate and remove the screws holding the stock radio in place with a Phillips screwdriver. Carefully pull the radio out, taking note of the connectors attached to its back. Detaching these connectors will require a gentle pull, ensuring no wires break.
Now that the old unit is out, it is time to connect the new CarPlay stereo. Begin by connecting the wiring harness to the stereo, ensuring you follow the color-coded instructions provided in the CarPlay manual. Secure the connections with electrical tape to prevent any shorts. Once everything is connected, slide the newly installed stereo into the dash and replace the screws to secure it. Reattach the trim panel to complete the aesthetic finish.
If you encounter installation issues, common problems often include loose connections or improper settings. Revisit the wiring to ensure all cables are firmly connected. After installation, adjust the settings of your CarPlay system according to your preferences. This concludes the installation steps, giving you the capability to enjoy enhanced navigation and connectivity in your Buick Regal.